
Support removal best practices for delicate prints
I posted last time about how to get buttery smooth prints, but this time I’m going to talk about how to remove supports so that you don’t wreck your beautiful print! This post includes some affiliate links for products that I personally use.
There are some external factors that go into this, such as whether the supports are done in a way that encourages damage or not. But this guide is going to assume that the supports are more or less normal. I’ve seen some that looked like you’d have to use a chainsaw to get them off, but in those cases I would recommend re-supporting the model yourself. Even auto-supports would be better than having to chisel a giant block off the model.
-
Clean the print thoroughly. I use an ultrasonic and fill the tank with water, then put the model in a ziploc bag with used IPA. After that, take out the model and put it in another ziploc of fresh IPA and swish manually. I like to use an all-metal ultrasonic instead of the cheaper ones made of plastic. I had a cheaper plastic one that eventually shook itself to pieces after only 2 months, so I definitely don’t recommend that route even if you want to save money.
-
Let dry for at least 1 hour. More is fine too (sometimes I left it for over a day), but it needs to be thoroughly dry and not sticky or tacky on the surface. If it’s sticky even after several hours, it needs more cleaning.
-
Fill a container with tap-hot water and dunk the model in the water until it feels soft and bendy. Don’t put this water down the drain! You should expose it to UV because it might have resin residue in it.
-
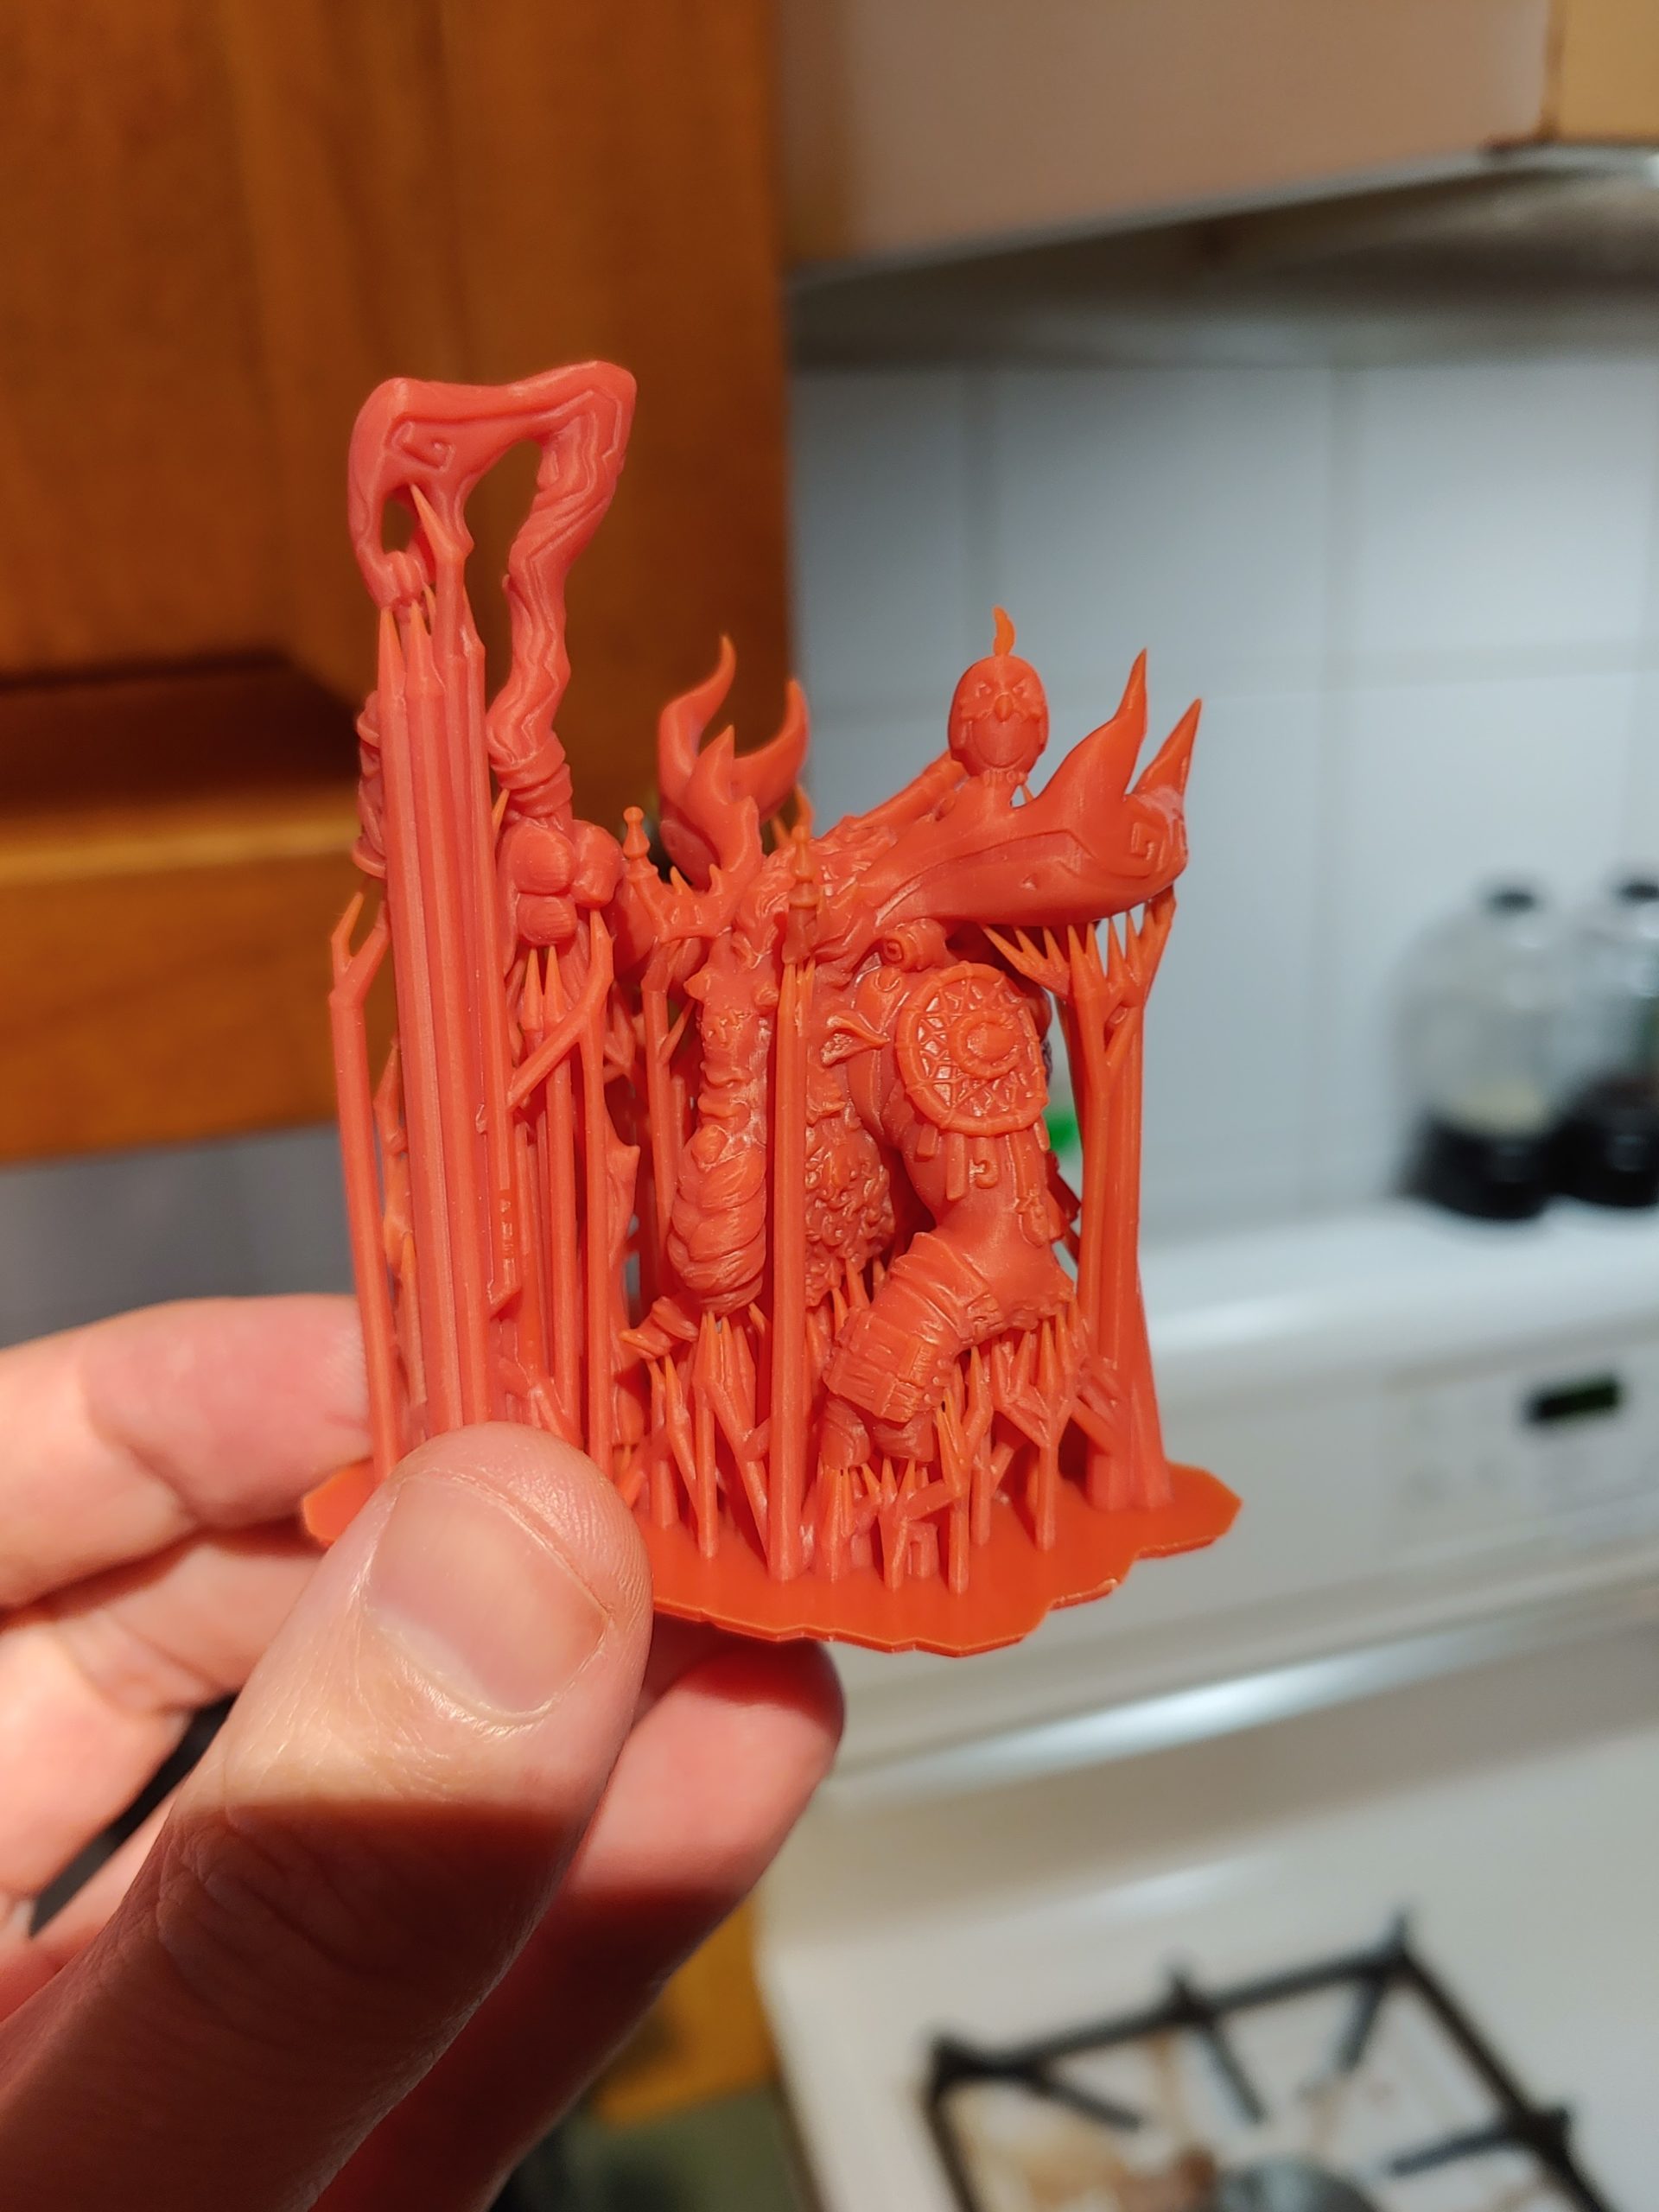
If there aren’t any delicate details on your model, you can gently peel the supports off. If there is anything thin or detailed, you should use a fresh scalpel knife to slice through the contact points of the supports on those parts, because pulling may break them or cause pitting. If you’re anal retentive like me, you slice all the supports off one-by-one, because this will give you the absolute best results. It’s OK to leave a bit of a nub on there, but not good to cut into the model.
-
Use small diamond files to carefully file off any nubs left over from the supports. You can do this while it is damp so the dust doesn’t go into the air. It goes without saying, don’t inhale the resin dust.

Diamond Needle File 100x3x2mm (10 pc.) – FIL-974.00 
- You can do your final UV cure here, or between steps 4 and 5 depending on how soft your resin surface is. If the surface feels very soft, filing it can cause more damage than good. So if it feels gummy at all, cure it before filing.


If your print is nice and smooth (read my other post on How to Get Smooth 3D Prints), then this method of support removal will leave very little surface imperfections. And if you’re totally new to printing, make sure to check out my guide on How to 3D Print Safely!
Do you need some cool minis to print? Check out our guide to finding and picking a miniatures Patreon to support!